Address
Building 1, No. 22, Shexi Yongping Road,
Dongguan, Guangdong, China
Work Hours
Monday to Friday: 7AM - 7PM
Weekend: 10AM - 5PM
Address
Building 1, No. 22, Shexi Yongping Road,
Dongguan, Guangdong, China
Work Hours
Monday to Friday: 7AM - 7PM
Weekend: 10AM - 5PM
Solar installs use a roof route and an internal route. This guide covers thickness from 2 mm to 12 mm, restraint, drainage and a solar trial plan.
Solar installations move panels, rails and mounting hardware across roofs and through buildings, often on routes that were never designed for repeated material handling. This article looks at protecting surfaces during solar installation. The focus is roof routes, internal distribution paths and protecting both ends of the install.
A solar installation has a roof route and an internal route: panels go up, and cabling and inverters go in. Both need protection, and they need different specifications.
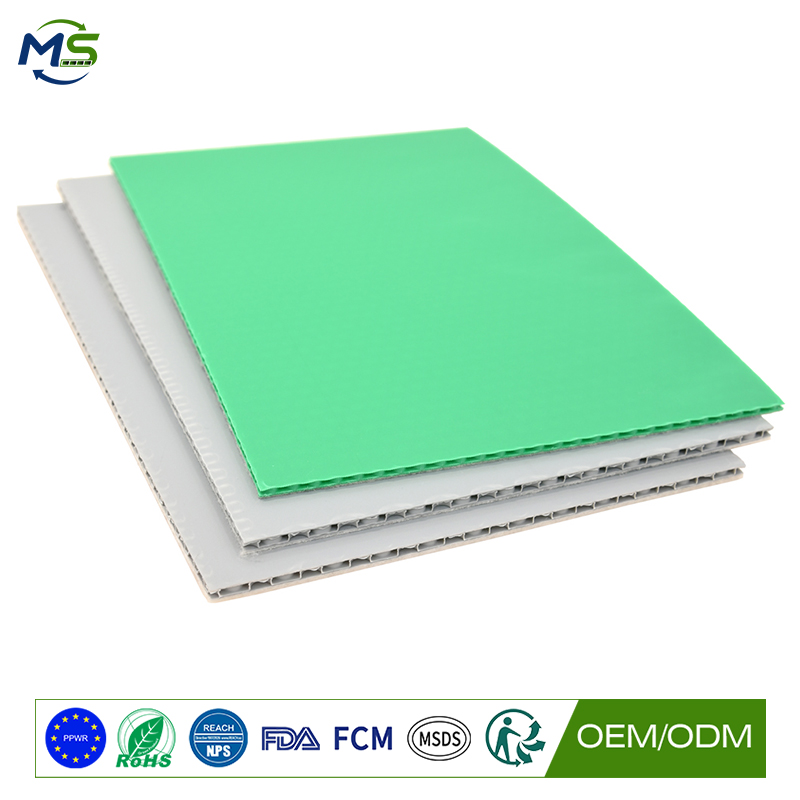
On the roof, a rigid PP honeycomb protection board spreads foot and material loads and protects the membrane from set-down and dropped fixings.
Indoors, the same board protects floors along the cable and inverter route, and it is light enough to carry to the roof without heavy handling.
Roof routes carry foot traffic and panel stacks, so the middle part of the 2 mm to 12 mm range is typical on the roof.
For foot traffic a mid thickness is enough. Where panel stacks and mounting hardware are set down, thicker boards protect the membrane.
| Board group | Typical thickness | Where it earns its place | Watch-outs |
|---|---|---|---|
| Light-duty panel | 2-3 mm | Internal pedestrian routes for cabling | Not for panel stacks or equipment |
| General install panel | 4-6 mm | Roof walkways and internal delivery routes | Restrain on the roof; keep drainage clear |
| Heavy-duty panel | 8-10 mm | Panel stack set-down and inverter delivery | Check membrane and floor tolerance |
| Maximum protection | 12 mm | Battery storage and heavy inverter installation | Confirm structural capacity |
Restrain panels against wind on the roof without penetrating the membrane, and inspect after high wind.
Keep the internal route protected for cabling and inverter delivery, and protect thresholds where equipment is carried through.
Do not cover drainage or roof falls, and clear panels before any weather event that could trap water beneath them.
Purpose-made roof walkways are the right permanent answer for maintenance routes but are costly for a one-off installation.
Plywood absorbs water and delaminates on a roof, and it is heavy to carry up. Sheeting slides and traps moisture.
A PP honeycomb board is light, non-absorbing and reusable, which suits a temporary installation route on both roof and floor.
Protect one roof route and one internal route, leaving comparable routes on the current method. Inspect after each delivery and after high wind.
Run a panel-stack set-down test on a sample roof panel, then lift and inspect the membrane.
Record restraint performance and any trapped water, because on a roof those decide the method.
State the roof membrane type, the panel and hardware loads, the internal floor finishes and the wind exposure. Ask for the recommended thickness for both roof and floor routes.
Ask for guidance on restraint without membrane penetration, and about custom sizes for standard panel routes.
For a quotation or sample panel, contact service@mingplastics.com or WhatsApp +86 189 3887 1524. Include the surface type, floor area, trades on site and expected duration so the recommended thickness, facing and fire performance can be confirmed before you order.
Protect both the roof route and the internal route, restrain panels against wind without penetrating the membrane, and keep drainage and roof falls clear.