Address
Building 1, No. 22, Shexi Yongping Road,
Dongguan, Guangdong, China
Work Hours
Monday to Friday: 7AM - 7PM
Weekend: 10AM - 5PM
Address
Building 1, No. 22, Shexi Yongping Road,
Dongguan, Guangdong, China
Work Hours
Monday to Friday: 7AM - 7PM
Weekend: 10AM - 5PM
Marble and stone fail through etching, edge chips and trapped moisture. This guide covers thickness from 2 mm to 12 mm, curing and liquid control, facing choice and a stone trial plan.
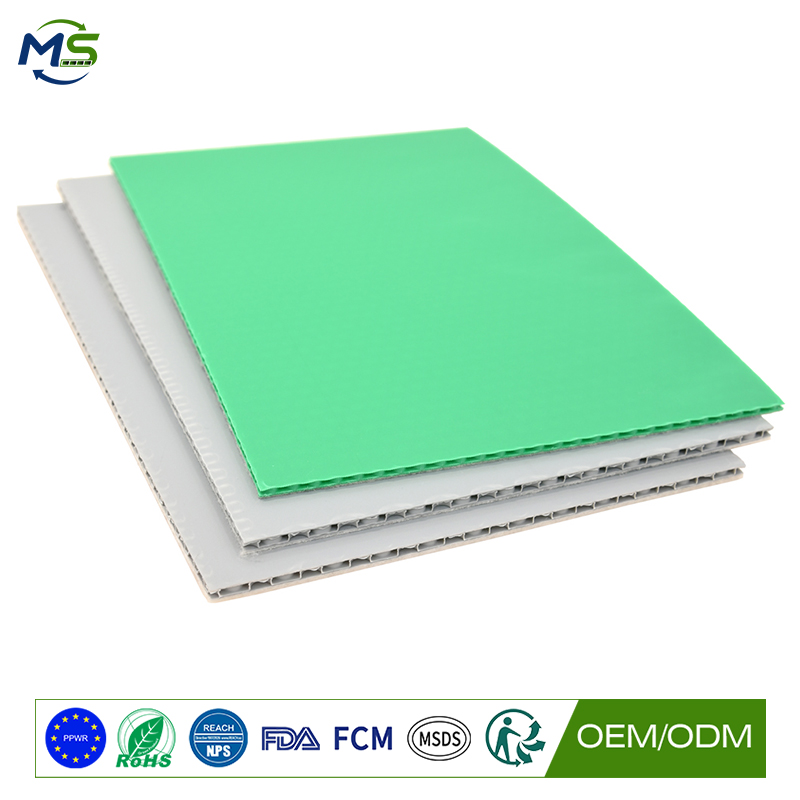
Marble and natural stone are soft, calcareous and expensive to replace, and they are usually laid early enough in a programme to be exposed to every following trade. Scratches, edge chips and etching from spilled liquids are the three complaints that reach handover. This article looks at stone floor protection and turns it into a specification that addresses all three. The focus is load spreading, liquid management and a facing that will not mark a polished surface.
Polished marble is softer than most people expect and reacts to acidic spills. Water, grout residue and cleaning products left on the surface can dull a polish permanently. Protection therefore has to manage liquids as well as loads, which rules out anything that traps moisture against the stone.
Edge chipping is the mechanical half of the problem. Stone is most vulnerable at arrises, steps and perimeter cuts, and those are exactly the places where a sliding film offers least protection. A rigid panel spreads a dropped load over a wider area and stays put at the edge.
A PP honeycomb protection board addresses both: the panel resists movement and spreads load, and because polypropylene does not absorb water, liquid sits on top of the board rather than wicking through to the stone.
For stone, thickness is chosen for the heaviest crossing and for how long the board stays down. The range covers 2 mm to 12 mm, and a polished stone floor in a lived-in building usually justifies more thickness than a short decorating job.
Where the stone is already sealed and only light trades follow, a mid thickness with a soft facing is appropriate. Where stone is being laid while other trades continue, or where heavy items will be moved across it, the thicker end prevents the point dents that become visible cracks.
| Board group | Typical thickness | Where it earns its place | Watch-outs |
|---|---|---|---|
| Light-duty panel | 2-3 mm | Sealed stone, decorating only, short programme | Insufficient where heavy items are moved |
| General floor panel | 4-6 mm | Polished marble under foot traffic and hand tools | Facing must be soft; seams taped |
| Heavy-duty panel | 8-10 mm | Stone in live buildings, trolley and appliance moves | Heavier handling; allow lifting time |
| Maximum protection | 12 mm | Plant moves, long programmes, public routes over stone | More than light work needs |
Never lay protection over a stone floor that is still curing unless the supplier has confirmed it is safe to do so. Trapped moisture during curing can cause bloom and patchy sheen that no amount of polishing removes.
Sweep and vacuum before the boards go down, then lift and dry the panels periodically if wet trades are running. A board that does not absorb water is easy to wipe, but the water still has to go somewhere, so plan the run-off.
Use a felt or fleece facing against polished stone. The facing is the contact layer, and on a calcareous surface it is the difference between protection and abrasion.
Adhesive films are sometimes used on stone, but adhesive residue on a calcareous surface is a known problem and removal can pull at the polish. Felt rolls cushion well but hold moisture and flatten under load.
Plywood protects mechanically but is heavy, absorbs water and can scratch stone if grit is trapped beneath it. It is also awkward to fit around stone thresholds and inlays.
A PP honeycomb board gives cushioning plus rigidity without holding water, and it can be lifted, dried and re-used. That combination is why it suits stone better than a single-use roll on anything but the shortest job.
Choose two comparable stone areas and protect one with the specified board. Inspect at fixed intervals for polish change, edge condition and any staining. Use consistent lighting and the same viewing angle so the comparison is fair.
Test liquid behaviour deliberately: spill water on the board and confirm it does not reach the stone, then lift and check the underside and the surface. This is the check that prevents a handover surprise.
Record re-lay frequency and seam condition, because on stone a single re-lay with grit left behind is enough to cause a mark that has to be professionally re-polished.
State the stone type, the finish, whether it is sealed, and whether it is still curing. Say which trades follow and whether liquids will be present. Ask for the recommended thickness, facing, panel size and fire performance needed on site.
Ask whether custom sizes and colours are available, because stone floors often have inlays, borders and thresholds that make standard sheet sizes wasteful. Confirm the guidance on seams and edges in writing before ordering.
For a quotation or sample panel, contact service@mingplastics.com or WhatsApp +86 189 3887 1524. Include the surface type, floor area, trades on site and expected duration so the recommended thickness, facing and fire performance can be confirmed before you order.
Stone needs protection that manages liquids as well as loads. Use a non-absorbing panel with a soft facing, confirm curing is complete, tape the seams, and specify thickness for the heaviest crossing.