Address
Building 1, No. 22, Shexi Yongping Road,
Dongguan, Guangdong, China
Work Hours
Monday to Friday: 7AM - 7PM
Weekend: 10AM - 5PM
Address
Building 1, No. 22, Shexi Yongping Road,
Dongguan, Guangdong, China
Work Hours
Monday to Friday: 7AM - 7PM
Weekend: 10AM - 5PM
Bathroom works damage routes more than bathrooms. This guide covers thickness from 2 mm to 12 mm, water control, thresholds and a bathroom trial plan.
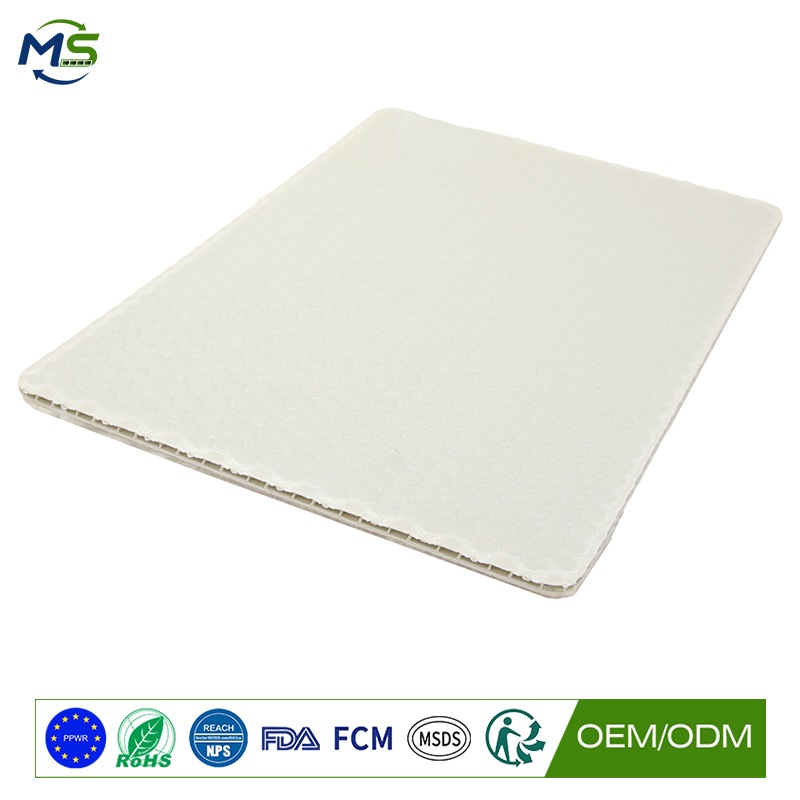
Bathroom installation brings water, heavy sanitaryware and cutting dust into finished parts of a home or hotel room. The damage usually happens on the route to the bathroom rather than inside it. This article looks at protecting floors and routes during bathroom works. The focus is water management, carrying sanitaryware and protecting adjacent finished rooms.
Most bathroom-related damage is not in the bathroom: it is on the corridor, the stairs and the threshold the fittings were carried through. Those are the surfaces to protect first.
A rigid PP honeycomb protection board protects the route and the threshold, and because it does not absorb water it survives being walked on with wet boots.
The felt or fleece facing protects finished floors in the rooms the installers pass through.
Bathroom works involve foot traffic, toolboxes and sanitaryware, so the thinner to middle part of the 2 mm to 12 mm range is usually sufficient.
For routes and adjacent rooms a mid thickness is enough. Where baths, shower trays and stone basins are carried, thicker boards protect against the concentrated loads at set-down points.
| Board group | Typical thickness | Where it earns its place | Watch-outs |
|---|---|---|---|
| Light-duty panel | 2-3 mm | Adjacent rooms and light decorating | Not for carrying sanitaryware |
| General route panel | 4-6 mm | Corridors and stairs on the bathroom route | Lift and dry between wet tasks |
| Heavy-duty panel | 8-10 mm | Baths, shower trays and stone basin moves | Protect the threshold at set-down |
| Maximum protection | 12 mm | Stone baths and very heavy fittings | Confirm floor capacity for the load |
Keep water contained: lift and dry panels between wet tasks, and never leave standing water against a finished floor.
Cut tiles and stone outside the room where possible, and vacuum before panels are moved, because tile dust under a board is abrasive.
Protect the threshold specifically, since it is where fittings are carried through and where floors most often chip.
Dust sheets protect against dust but soak through with water and bunch under foot, which is exactly what happens during bathroom works.
Cardboard crushes when wet and needs replacing constantly. Plywood protects but absorbs water and is heavy to carry up stairs.
A PP honeycomb board is non-absorbing, light to carry and re-usable from room to room, which suits repetitive bathroom installations.
Protect the route and one bathroom, and leave a comparable job on the current method. Inspect at the end of each day, including adjacent rooms.
Run a water test: wet the panels as they would be during work, wait, then lift and check the floor beneath.
Record any damage on the route versus in the bathroom, because that tells you where protection should be concentrated next time.
State the floor finishes, the route and stair conditions, what is being carried and the number of rooms. Ask for the recommended thickness and facing, and confirm the board is non-absorbing.
Ask for guidance on thresholds and on cutting dust control, plus custom sizes for repeated room layouts.
For a quotation or sample panel, contact service@mingplastics.com or WhatsApp +86 189 3887 1524. Include the surface type, floor area, trades on site and expected duration so the recommended thickness, facing and fire performance can be confirmed before you order.
Protect the route and threshold before the bathroom itself, keep water off finished floors, control cutting dust and use a board that survives wet boots.