Address
Building 1, No. 22, Shexi Yongping Road,
Dongguan, Guangdong, China
Work Hours
Monday to Friday: 7AM - 7PM
Weekend: 10AM - 5PM
Address
Building 1, No. 22, Shexi Yongping Road,
Dongguan, Guangdong, China
Work Hours
Monday to Friday: 7AM - 7PM
Weekend: 10AM - 5PM
Kitchen installs move heavy appliances on small contact points. This guide covers thickness from 2 mm to 12 mm, transitions, worktops and a trial plan.
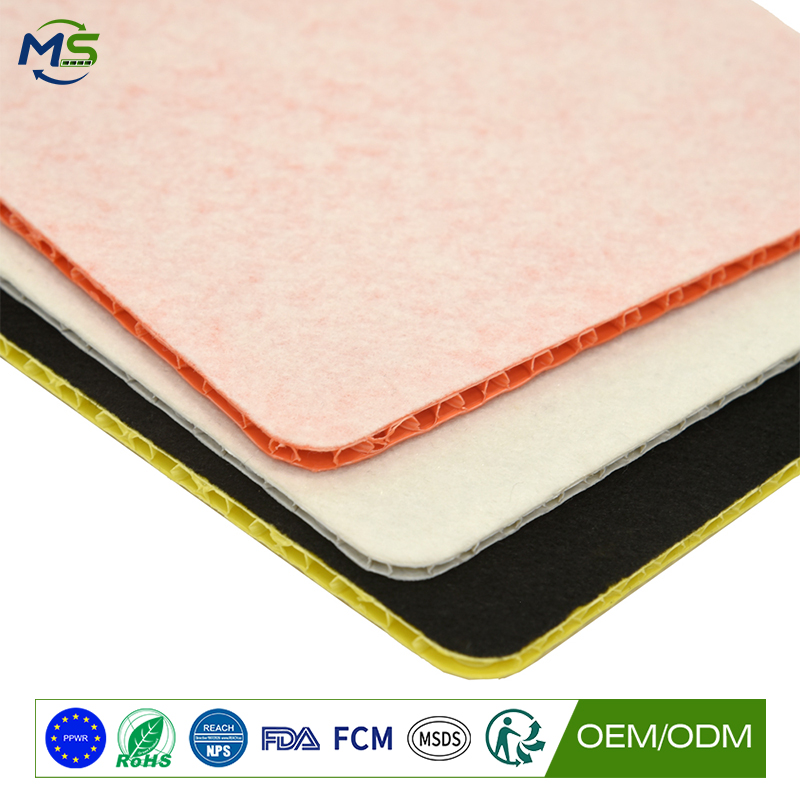
Kitchen installation moves the heaviest domestic items through finished spaces: range cookers, fridge freezers, worktops and appliances on narrow wheels or feet. The damage happens at set-down and at the threshold. This article looks at protecting floors during kitchen installation. The focus is appliance loads, worktop protection and protecting the route.
An appliance on castors or feet applies its whole weight through a few small contact points, which is the load case that dents timber and cracks tile.
A rigid PP honeycomb protection board spreads those contact points across a wider area, protecting the floor during the move and at set-down.
Because the panels are light, they can be laid along the route quickly and lifted again once the appliance is in place.
Kitchen installation involves appliance moves and worktop handling, so the middle to upper part of the 2 mm to 12 mm range is typical for the route.
For foot traffic and toolboxes a mid thickness is enough. Under appliance feet and castors, the thicker boards give the spreading that prevents dents.
| Board group | Typical thickness | Where it earns its place | Watch-outs |
|---|---|---|---|
| Light-duty panel | 2-3 mm | Foot traffic and toolboxes on the route | Compresses under appliance feet |
| General install panel | 4-6 mm | Kitchen floors during installation work | Protect worktops separately |
| Heavy-duty panel | 8-10 mm | Range cookers, fridge freezers and appliances | Build transitions at thresholds |
| Maximum protection | 12 mm | Stone worktops and heaviest appliances | Confirm floor capacity |
Protect worktops separately with a faced board while appliances are being positioned, because a marked worktop is a remake.
Build a transition at thresholds and at any change of floor level rather than letting appliance wheels drop over an edge.
Keep the route continuous from the door to the kitchen so nothing is set down on an unprotected surface.
Cardboard is the usual appliance protection and it compresses exactly under the feet, which is where the load is.
Moving blankets protect the appliance but not the floor, and they slide rather than spreading load.
Plywood works but is heavy to carry through a house and awkward to manoeuvre around a kitchen. A PP honeycomb board is light, cuttable and re-usable across installs.
Protect the route and kitchen floor on one install and leave a comparable install on the current method. Inspect at set-down and at completion.
Run an appliance move over a sample panel, then lift and check for dents in the floor.
Record whether any threshold was damaged, because that is the most common failure point on a kitchen install.
State the floor type, the appliance weights, the route and any level changes. Ask for the recommended thickness for appliance foot loads.
Ask for guidance on transitions and on protecting worktops, plus custom sizes for standard kitchen layouts.
For a quotation or sample panel, contact service@mingplastics.com or WhatsApp +86 189 3887 1524. Include the surface type, floor area, trades on site and expected duration so the recommended thickness, facing and fire performance can be confirmed before you order.
Protect the route and thresholds, use the thick end of the range under appliance feet, and protect worktops separately while appliances are positioned.