Address
Building 1, No. 22, Shexi Yongping Road,
Dongguan, Guangdong, China
Work Hours
Monday to Friday: 7AM - 7PM
Weekend: 10AM - 5PM
Address
Building 1, No. 22, Shexi Yongping Road,
Dongguan, Guangdong, China
Work Hours
Monday to Friday: 7AM - 7PM
Weekend: 10AM - 5PM
Diagnose floor damage by comparing the condition at removal with the photographs taken before protection was laid, then match the ... Ask Mingskye for a sample.
Diagnose floor damage by comparing the condition at removal with the photographs taken before protection was laid, then match the mark to its likely cause. A line of dents follows a trolley route, a soft or bloomed patch points to trapped moisture, and adhesive residue follows the seam tape. Without the pre-installation record, cause and responsibility are almost impossible to establish.
This page covers floor damage after protection removal in six sections: Diagnosing a damaged floor and working out the; The cost of a single damaged floor; Writing a defect report that gets a useful; Recording the condition of the floor before protection; Five misconceptions about reusable protection; Adhesive failure at the seams. Each section answers one practical question and can be read on its own.
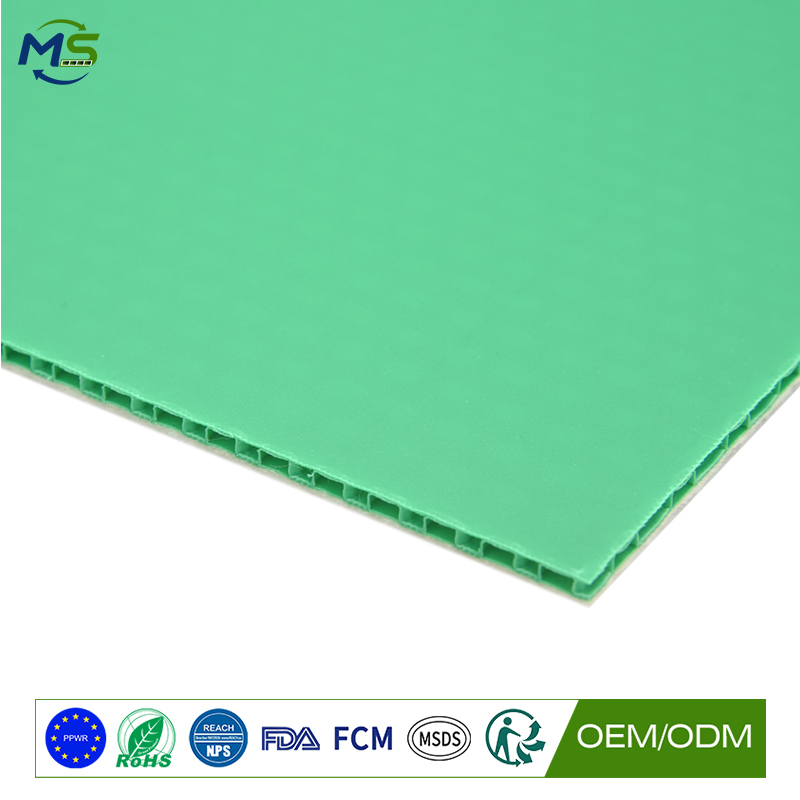
The pattern of the damage tells you what happened, and reading the pattern is faster and cheaper than replacing the floor and hoping it does not happen again.
A linear scratch following a straight line across the floor usually indicates a single sharp object dragged along the surface, often a trolley wheel running over trapped grit or a board edge lifted above the surface.
Circular or arc-shaped damage points to a rotating object under load, such as a castor. A cluster of impact marks in a small area suggests something was dropped, and the shape of the marks gives an indication of the object and the height it fell from.
Damage that follows the line of a joint or a panel edge points to the protection rather than to the site activity, because the edge lifted and then cut. This pattern is worth recognising because the remedy is to change the joint treatment, not to change the traffic.
One damaged hardwood or marble floor typically costs more than the entire protection budget for the project, which is the clearest argument for specifying it properly.
The cost is not the repair. A scratch in a hardwood floor needs sanding and refinishing; a chipped marble tile needs replacement and the whole batch has to be matched; a damaged resin floor needs a specialist repair system. The cost sits in the specialist trade and the disruption.
The second cost is time. The area has to be closed, the finish stripped back, and the trades that were waiting behind it have to be rescheduled. On a fit-out programme, damage to a client floor can cost several days.
The third cost is the relationship. A damaged client floor generates a formal claim, and the resolution involves everybody involved in the project. This is the cost that rarely appears in a protection budget but is consistently the largest.
For terminology and test-method context see ISO standards catalogue. The guidance on this page is practical site guidance, not a test report or a certificate.
A defect report that names the panel, the batch, the location and the failure mode produces a replacement or a credit; a report that says the panels are faulty produces a dispute.
The first element is identification: the product name and grade, the batch or production date, the order reference, and the panel’s own mark if the fleet is numbered. Panels that are individually numbered make this trivial and are worth doing in any reuse programme.
The second element is the failure mode, described in physical terms rather than as a complaint. Saying the panel failed at a 4 mm working deflection under a 1500 kg per square metre load describes the mechanism and tells the supplier whether it is a design issue, a manufacturing issue or an application issue.
The third element is the evidence: photographs of the failed area, the panel edge in section, and the substrate beneath. A photograph of a sectioned edge is worth more than a description, because it shows the core structure and the bond line directly.
| Failure question | Short answer | What to inspect | In this guide |
|---|---|---|---|
| What should be checked about diagnosing a damaged floor and working … | The pattern of the damage tells you what happened, and reading the pattern is faster and … | A linear scratch following a straight line across the floor usually indicates a single sharp … | Section 1 |
| What should be checked about the cost of a single damaged … | One damaged hardwood or marble floor typically costs more than the entire protection budget for the … | The cost is not the repair. A scratch in a hardwood floor needs sanding and … | Section 2 |
| What should be checked about writing a defect report that gets … | A defect report that names the panel, the batch, the location and the failure mode produces … | The first element is identification: the product name and grade, the batch or production date … | Section 3 |
| What should be checked about recording the condition of the floor … | A condition record made before protection is laid settles every later question about who caused what. | The record should cover the floor type and finish, the visible condition including any pre-existing … | Section 4 |
A condition record made before protection is laid settles every later question about who caused what.
The record should cover the floor type and finish, the visible condition including any pre-existing marks, and the state of the areas most likely to be damaged. Photographs taken at the same positions and angles as the handover record are the most useful form.
This is not about assigning blame. It is about establishing a baseline, so that a mark discovered at handover can be compared with the baseline and the discussion can be about what happened in between rather than about whose word is believed.
The cost is a few minutes of photography at the start of the protection. The benefit is that it is almost impossible to argue with a dated and located image.
Most site complaints about protection boards come from five assumptions that do not survive contact with a real project.
The first is that heavier is always better. Thickness helps against sustained load, but against a sharp or a concentrated point load it changes little, and it makes the panel impossible to move, which means it will not be used where it is needed.
The second is that a smooth facing grips better. A smooth film facing actually slides more easily on a hard floor, and the panel that moves is the panel that ends up somewhere else when someone is standing on it.
The third is that protection boards can be left down indefinitely. They are designed for a defined duration and a defined inspection cycle, and the most common failure is a panel that was never looked at after week three.
The fourth is that a damaged panel is still doing its job. Once the face is broken the substrate is exposed, and the damaged area is where the next incident happens.
The fifth is that reusable is always cheaper. Reuse wins when the panel survives the number of cycles planned for it and when the collection and inspection are actually organised. Without that organisation it is a more expensive consumable.
Seam tape fails when the surface is dirty, damp, cold or textured, and it fails at the edge of the panel rather than across the joint.
Tape needs a clean, dry, smooth bond. On a textured or felt facing, the tape grips only the high points and peels away between them, which is why tape lifts in strings rather than releasing cleanly.
Temperature also matters. Many tapes need a surface temperature above a minimum, and a panel laid on a cold slab in a winter fit-out will not bond even if the tape is the right type. Warming the surface or using a low-temperature grade tape resolves it.
The remedy for a persistent lifting seam is to change the fixing rather than to change the tape repeatedly. A mechanical or edge-capping system, or a purpose-made joining strip designed for the panel type, will hold in conditions where tape alone never will.
The pattern of the damage tells you what happened, and reading the pattern is faster and cheaper than replacing the floor and hoping it does not happen again. A linear scratch following a straight line across the floor usually indicates a single sharp object dragged along the surface, often a …
One damaged hardwood or marble floor typically costs more than the entire protection budget for the project, which is the clearest argument for specifying it properly. The cost is not the repair. A scratch in a hardwood floor needs sanding and refinishing; a chipped marble tile needs replacement …
A condition record made before protection is laid settles every later question about who caused what. The record should cover the floor type and finish, the visible condition including any pre-existing marks, and the state of the areas …
Seam tape fails when the surface is dirty, damp, cold or textured, and it fails at the edge of the panel rather than across the joint. Tape needs a clean, dry, smooth bond. On a textured or felt facing, the tape grips only the high points and peels …
References checked by publisher and title on 2026-11-06. Standards and regulations are cited by name only; no performance values are attributed to them. General material-property figures in the text are indicative reference values for polypropylene and should be verified against your supplier’s current data sheet. Confirm applicability and current versions for your own project before relying on any of them.
For a quotation, a sample panel or help matching a thickness and facing to your site conditions, contact service@mingplastics.com or WhatsApp +86 189 3887 1524. Include the surface type, floor area, the trades working overhead and the expected duration so the recommended specification can be confirmed before you order.
For floor damage after protection removal, Keep a condition record and an inspection rhythm so a failure can be diagnosed rather than guessed at. Seam tape fails when the surface is dirty, damp, cold or textured, and it fails at the edge of the panel rather than across the joint.